My Story
My wife and I built our first home in Utah early last year. I landscaped my backyard and decided that I wanted to grow a garden. After a little research I decided that grow boxes were the way to go. Growing a garden has been an exciting journey. In my blog I will share what I have learned and hope to learn to gain a few tricks from you as well.
Building the Grow Boxes
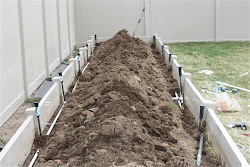
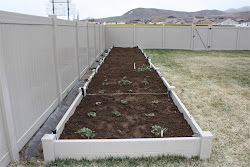
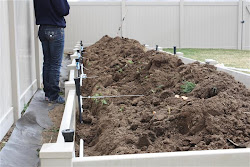
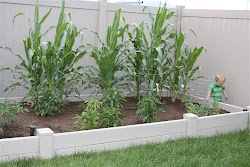
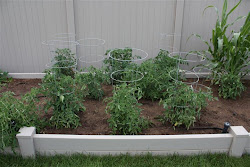
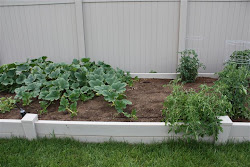
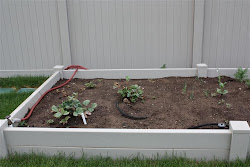
Building the grow boxes was a simple task. The grow boxes are constructed of vinyl fencing. I found the materials from a local fence contractor. The contractor pre-cut the posts 2 feet long and also cut in holes for the rails. You can use a dermal or a jig saw if you want to do it yourself. I was able to get the materials plus the labor to pre-cut the post for less that I could purchase them at Home Depot. (Who would have thought?) I measure out my corner posts and marked them with location paint. Next I dug holes for the corner posts with a post digger and placed posts in the hole. I ran a string from the top the end posts the length of the box and stretched it tight. I used the string to try to line up the top of the posts and keep them straight. Making the posts perfectly straight and level was much harder than I expected. It was hard to push the rails into the pre-cut hole. I found that the use of a rubber mallet made the job much easier. After getting the boxes in place I installed the sprinklers. I set up two zones that had spigots stubbed up. Each box got one spigot. Next came the dirt, I brought in 12 yards of a 50/50 screened top soil/mulch blend. I hand shoveled all of the dirt into the boxes, and this was by far the hardest part. If I was going to move 13 yards of dirt again (a fully loaded dump truck) I would rent a bobcat.
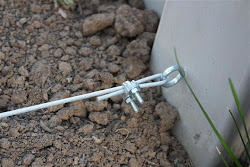
On my first attempt to building the boxes I didn't use a wire to support the posts. The post held the dirt find for a while, but after a little water the post started to slant away from the boxes. I decided that I would re-enforce the posts with a plastic coated steel cable. I also put a piece of sheeting in the corner posts to keep the rails from pulling out.
Watering
The first watering system I installed was a soaker hose system, each box received spigot with a soaker hose. The hoses didn't water very evenly and just didn't work very well. I decided to switch out the spigot with popup sprinkler heads. The sprinkler heads worked great, that is until the plants grew so big that the water couldn't get through them. This year I added an additional sprinkler head on the opposite side of the box. I am hoping that this will stop the rain shadow problem.
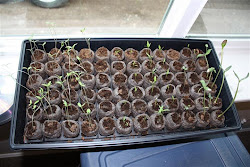
Last year I started everything from seeds. I used the Jiffy starter kit which worked pretty well.
While I was digging up the box to re-enforce it and add additional sprinklers I ran into many carrots that I neglected to harvest that previous fall. Above is one of those carrots.
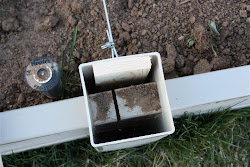
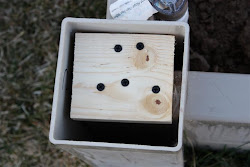
I constructed my own indoor growing station out of T-12 Grow Lights. I found these bulbs and shop light fixture at home depot. It was a pretty cheap way to build a grow light station. Each bulb was $10.00 and the fixtures were $10.00 each. My total cost was about $60.00, much cheaper that buying a comparable grow light stand anywhere. I got a power strip with programmable on and off times. I set the power strip to turn on at 5:30 am and off at 10:30 pm. It gets cool in my basement so I covered the stand and put a heater in with the plants. I have the heater set to 80 degrees. This seems to be a good way to start my plants.


Privacy fences are the answer to having an outdoor space that you can use while discouraging the stares of passers-by and curious neighbors.
ReplyDeletePrivacy Fence